Discover the charm of creating your own fanny pack with free sewing patterns available online. These hands-free accessories are perfect for everyday use, offering a practical way to carry essentials while keeping your hands free. With various styles and sizes, you can sew a unique bag that fits your personal style and preferences.
Why Fanny Packs Are a Great DIY Sewing Project
Fanny packs are an excellent DIY sewing project due to their simplicity and versatility. They require basic sewing skills, making them ideal for beginners, while also offering room for creativity. With free patterns available, you can customize the design to suit your style, using your favorite fabrics. This project is also eco-friendly, as it allows you to upcycle leftover materials. The satisfaction of creating a functional accessory that’s both trendy and practical makes it a rewarding endeavor for sewists of all levels.
Overview of the Best Free Fanny Pack Sewing Patterns Available Online
Explore a variety of free fanny pack sewing patterns online, catering to all skill levels and styles. From classic designs with curved tops to modern half-circle shapes, these patterns offer versatility. Many include adjustable straps, zipper closures, and detachable features for added functionality. Perfect for beginners, these PDF patterns often come with step-by-step tutorials and video guides. Whether you prefer minimalist or decorative designs, there’s a pattern to suit your preferences, ensuring a fun and customizable sewing experience.
Types of Fanny Pack Sewing Patterns
From classic curved-top designs to half-circle shapes and simple children’s versions, free fanny pack patterns offer diverse styles to suit different needs and sewing preferences.
Classic Fanny Pack with a Curved Top Flap
The classic fanny pack with a curved top flap is a timeless design that captures the essence of the traditional hip bag. This pattern typically features a fully lined interior, adjustable straps for comfort, and a secure front zipper closure. It’s a popular choice for its nostalgic appeal and practicality, making it ideal for everyday use. The curved flap adds a stylish touch, while the straightforward construction makes it accessible for sewists of all skill levels. Perfect for carrying small essentials, this design is both functional and fashionable, suitable for various fabric choices.
Half-Circle Shaped Fanny Pack in Multiple Sizes
The half-circle shaped fanny pack offers a unique and stylish alternative to traditional designs. Available in three sizes, this pattern features a front zipper closure and is fully lined for a polished finish. Adjustable webbing straps ensure a customizable fit, making it suitable for various users. The curved shape adds a modern aesthetic while maintaining functionality. Perfect for carrying small essentials, this design is versatile and easy to sew, ideal for those looking to create a practical yet fashionable accessory.
Simple Fanny Pack for Children
A simple fanny pack designed specifically for children is a great way to introduce them to hands-free carrying. This pattern features a minimalist design with a single pocket, making it easy to sew and perfect for little ones. The compact size and adjustable straps ensure a comfortable fit for kids. It’s an ideal project for beginners or for teaching children the basics of sewing. The straightforward construction ensures a quick and enjoyable crafting experience;
Downloading and Using Free PDF Sewing Patterns
Downloading free PDF sewing patterns is quick and easy. Simply find your preferred design, print the template, and follow the step-by-step instructions for a perfect fit.
How to Download and Print the PDF Pattern
Downloading and printing free fanny pack sewing patterns is straightforward. Visit a trusted website, click the download link, and save the PDF file. Ensure your printer settings match the pattern’s requirements, such as scaling to 100% or fitting the page. Print a test page to confirm accuracy. Once printed, carefully cut out the pattern pieces along the lines. Some patterns may need to be assembled from multiple pages, so align them properly before use. Always double-check the instructions for specific printing tips.
Understanding the Pattern Pieces and Layout
Fanny pack sewing patterns typically include multiple pieces, such as the front, back, flap, and strap components. Each piece is labeled with cutting lines, grain lines, and alignment markers. Some patterns may require cutting on the fold for symmetry. Ensure all pieces are matched by their symbols and labels for accuracy. Review the layout to understand how pieces fit together before cutting fabric. Check for any instructions regarding pattern assembly, such as taping pages together for larger pieces.
Materials and Tools Needed
To sew a fanny pack, you’ll need durable fabric, lining, interfacing, thread, zippers, and webbing or straps. Essential tools include scissors, a sewing machine, and measuring tape.
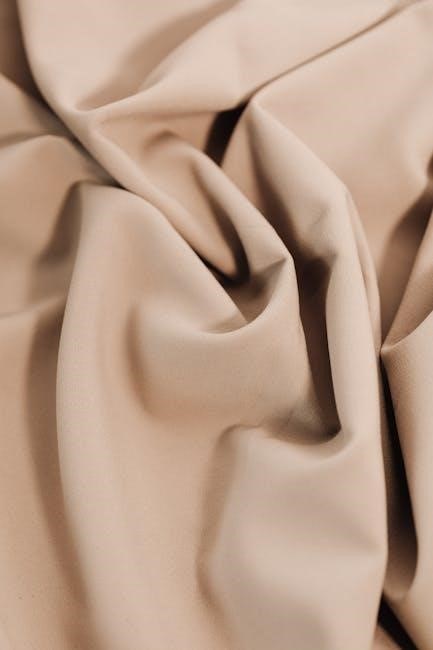
Fabric Requirements and Recommendations
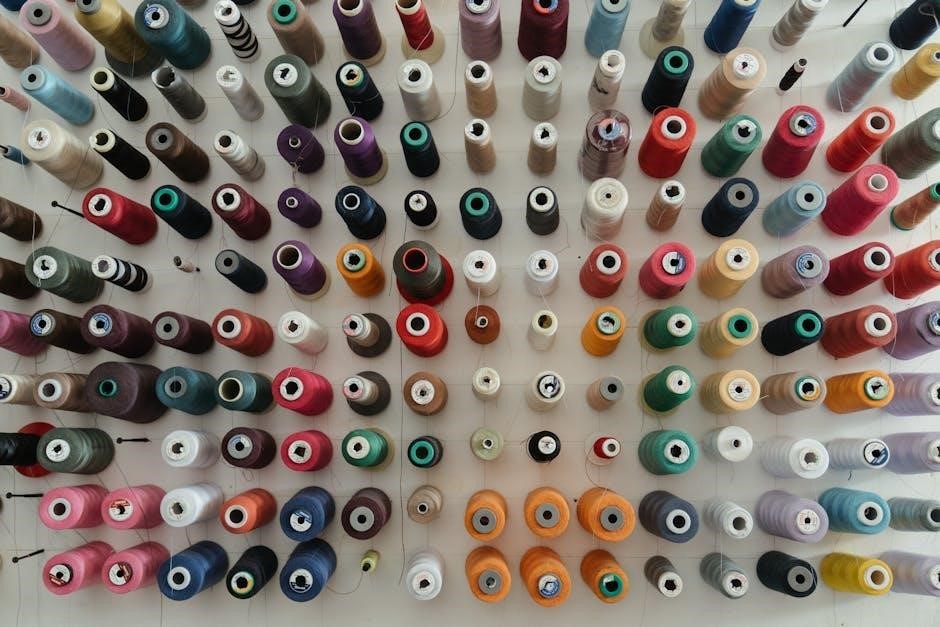
Choose durable fabrics like cotton, nylon, or canvas for your fanny pack. Lightweight materials work best for a sleek look, while heavier fabrics offer more structure. Consider using contrasting lining for a pop of color. Interfacing or stabilizer is essential for maintaining shape. Ensure your fabric is pre-washed to avoid shrinkage. Select colors and patterns that match your personal style. For a professional finish, use coordinating thread and zipper colors. These recommendations ensure your fanny pack is both functional and visually appealing.
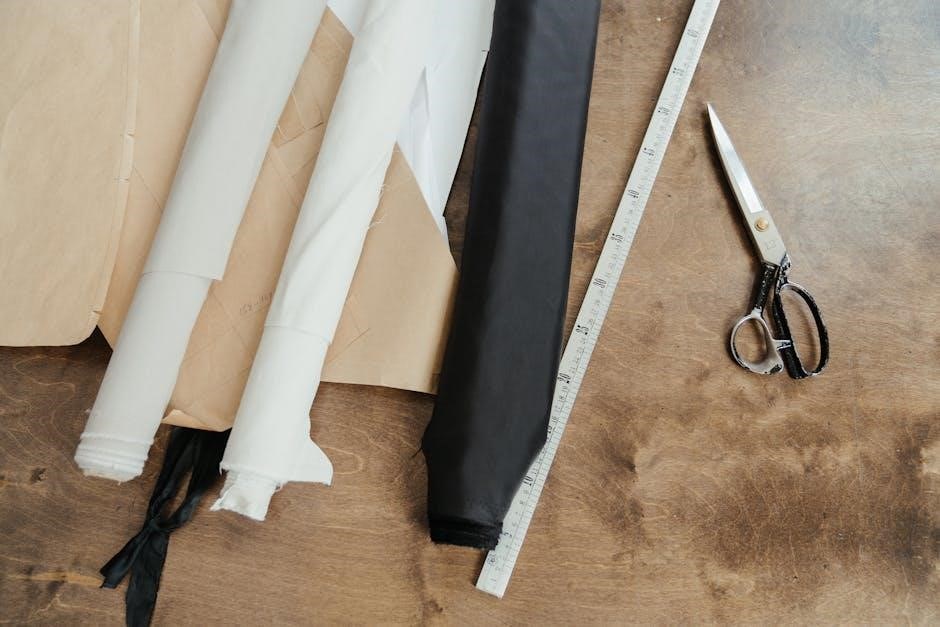
Essential Sewing Supplies for the Project
Gather your sewing machine, sharp scissors, and rotary cutter for precise cuts. A sewing mat and ruler are helpful for measuring fabric accurately. Zipper or Velcro for closures, adjustable straps, and webbing for stability are must-haves. Thread, needles, and pins are basics. Interfacing or stabilizer adds structure, while a seam ripper and iron ensure professional finishes. Optional items like keychains or decorative details can personalize your fanny pack. These supplies ensure a smooth and successful sewing experience.
Step-by-Step Sewing Instructions
Start by cutting fabric using the pattern, then assemble the front and back pieces. Attach zippers or closures, followed by straps. Sew all components together, ensuring secure seams for a polished finish.
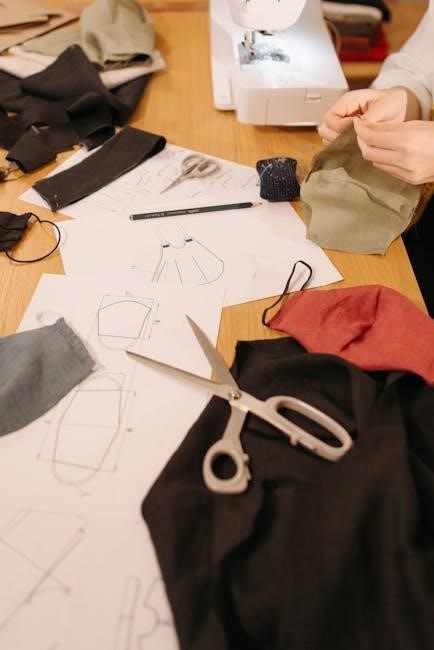
Cutting Out the Fabric Using the Pattern
Begin by printing and assembling the PDF pattern. Carefully cut out the fabric pieces, ensuring accurate alignment with the pattern. Use scissors or a rotary cutter for precise cuts. Pay attention to grain lines and fold lines, as indicated in the pattern. Cut two main pieces for the front and back, along with any additional features like flaps or pockets. Transfer all markings, such as zipper placements or strap attachments, to the fabric for easy reference during sewing. This step ensures a professional finish and proper fit.
Assembling the Fanny Pack Components
Start by sewing the main fabric pieces together, ensuring right sides are facing. Attach the zipper to the top edge, aligning it carefully for a smooth closure. Sew the sides and bottom, leaving a small opening for turning the bag right side out. Press the seams for a crisp finish. Add pockets or compartments if desired, securing them with straight stitches. Finally, topstitch the edges for a polished look, ensuring all components are securely attached and aligned properly.
Adding Zippers, Straps, and Finishing Touches
Install the zipper by aligning it with the top edge of the fanny pack, sewing securely in place. Attach adjustable straps to the sides, ensuring they are evenly spaced and sturdy. Add a keychain or decorative details for a personalized touch. Topstitch the edges for a polished appearance and reinforce stress points like strap attachments. Finally, inspect and trim any loose threads to complete your functional and stylish DIY fanny pack.
Optional Features and Customizations
Personalize your fanny pack with adjustable straps, keychains, or decorative details. Add pockets, zippers, or unique fabric combinations to make it truly one-of-a-kind and functional.
Adjustable Straps for a Perfect Fit
Add adjustable straps to your fanny pack for a customizable fit. Use webbing or fabric straps with sliders or buckles to ensure comfort and versatility. This feature allows the bag to accommodate different body types and preferences, making it suitable for both children and adults. Adjustable straps also enhance the practicality of the fanny pack, ensuring it stays securely in place during activities like walking or hiking. This detail elevates the bag’s functionality and makes it a more desirable DIY project.
Adding a Keychain or Decorative Details
Elevate your fanny pack’s style by adding a keychain or decorative details. A small keychain adds functionality and a personal touch, while decorative elements like embroidery, patches, or appliques can make the bag unique. These small details enhance the bag’s appearance without complicating the sewing process. Many free PDF patterns include options for adding such embellishments, allowing you to create a one-of-a-kind accessory that reflects your personality. This step is perfect for adding a creative flair to your DIY project.

Video Tutorials and Sewing Guides
Enhance your sewing experience with video tutorials and guides. These step-by-step demonstrations complement free PDF patterns, offering visual instruction for cutting, assembling, and finishing your fanny pack confidently.
Recommended Videos for Beginners
For those new to sewing fanny packs, recommended video tutorials provide clear, step-by-step guidance. Channels like Learn MYOG and Anda Corrie offer detailed instruction, covering fabric cutting, component assembly, and zipper installation. These videos are perfect for understanding the basics, from pattern alignment to finishing touches. They also include tips for customizing your fanny pack, such as adding adjustable straps or decorative elements. These resources make the sewing process accessible and enjoyable for everyone, ensuring a professional-looking result.
Step-by-Step Sewing Demonstrations
Step-by-step sewing demonstrations offer a visual guide to constructing your fanny pack. These tutorials break down the process into manageable parts, from cutting fabric to assembling components. They often include close-ups of techniques like zipper installation, strap attachment, and seam finishing. Many demonstrations are tailored for beginners, providing clear instructions and tips for achieving professional results. By following along, sewists can confidently navigate the project, ensuring a polished and functional final product that meets their creative vision.
Common Mistakes to Avoid
Avoid misaligning pattern pieces, which can lead to uneven seams. Ensure accurate zipper placement and proper strap alignment. Incorrect stitching tension may result in puckered fabric or weak seams.
Tips for Achieving Professional Results
Tips for Achieving Professional Results
For a polished finish, press seams thoroughly as you sew. Use a walking foot or Teflon presser foot to handle thick fabrics smoothly. Ensure accurate cutting by tracing patterns precisely. Topstitch visible seams for a professional look. Double-check zipper alignment and strap placement before sewing. Use high-quality fabric and notions to avoid fraying or weak spots. Reinforce stress points with bar tacks or rivets. Finish seams with serging or zigzag stitching to prevent unraveling. These tips will elevate your fanny pack from homemade to high-end.
Sewing your own fanny pack is a fun and rewarding DIY project. With free patterns and simple steps, you can create a unique, functional accessory tailored to your style and needs. Enjoy the satisfaction of crafting something practical and personalized for daily use or as a thoughtful gift.
Final Thoughts on Sewing Your Own Fanny Pack
Sewing your own fanny pack is a fun and rewarding DIY project that allows you to create a functional accessory tailored to your style. With free patterns and easy-to-follow instructions, you can craft a unique bag that meets your needs. Whether for daily use or as a gift, the process offers a sense of accomplishment and the joy of creating something personal. Embrace the creativity and practicality of this hands-free essential!
Leave a Reply
You must be logged in to post a comment.