Welcome to the Propel Drone Instructions guide. This comprehensive manual covers everything from assembly to advanced features, ensuring safe and optimal operation of your drone with ease and precision always.
1.1 Overview of Propel Drones
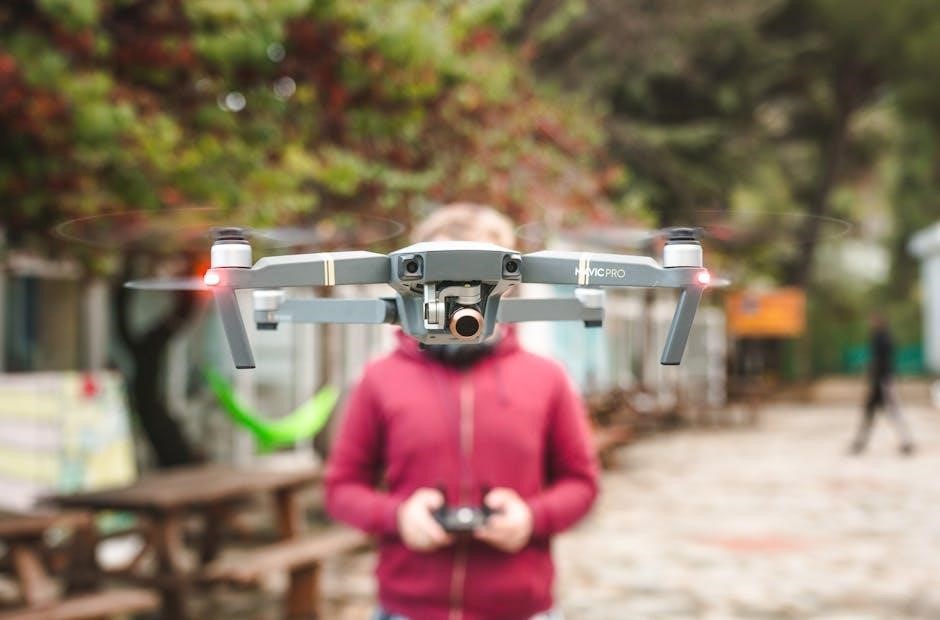
Propel drones are designed for portability and performance, featuring HD cameras, folding designs, and user-friendly controls. Models like the Flex 3.0 offer stable flight and maneuverability, while the ProFlight series includes advanced features. These drones are ideal for both beginners and enthusiasts, combining durability with high-quality imaging capabilities. Ensure to read the provided manuals for optimal use and safety guidelines to maximize your flying experience with Propel drones.
1.2 Importance of Following Instructions
Following the instructions ensures safe and effective operation of your Propel drone. Proper assembly, charging, and flight preparation prevent accidents and prolong the device’s lifespan. Adhering to guidelines helps comply with regulations, avoiding legal issues. Misuse can lead to malfunctions or injuries, making it crucial to follow the manual for a seamless and enjoyable experience with your Propel drone always.
Unboxing and Initial Setup
Unbox your Propel drone, controller, propellers, charger, and manual. Charge the battery and familiarize yourself with the components before proceeding to assembly and flight preparation steps.
2.1 What’s Included in the Box
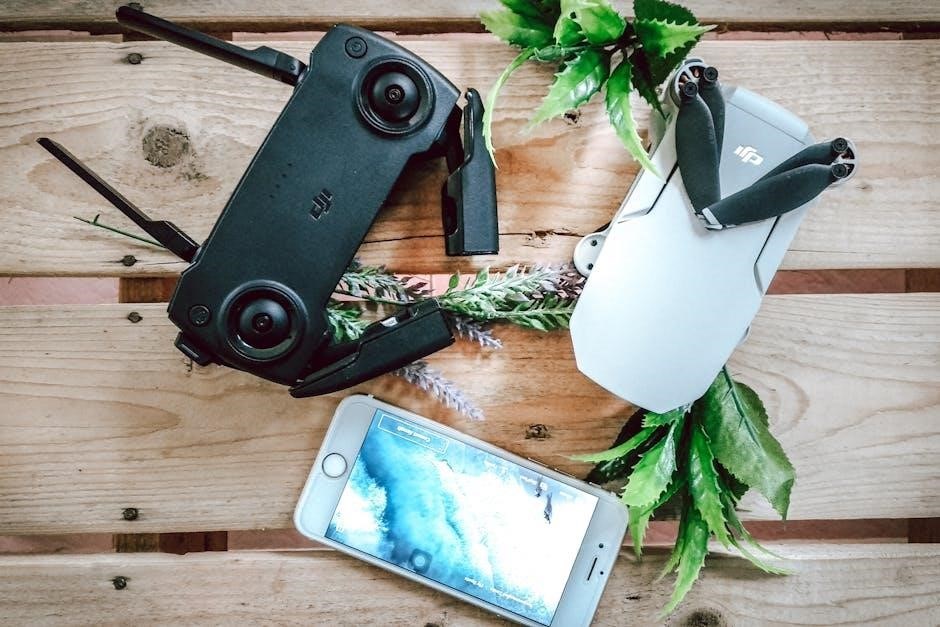
Your Propel drone box includes the drone, remote controller, propellers, charger, USB cable, and user manual. Additional accessories like a phone holder or storage case may also be provided for convenience and improved functionality during use.
2.2 Connecting the Controller
To connect the controller, power it on and insert the provided batteries. Sync the drone by moving the right stick to the top and center. For app connectivity, enable Wi-Fi on your device, select the drone’s network, and follow in-app pairing instructions. Ensure compatibility with your Android or iOS device for seamless operation and control.
2.3 Charging the Battery
Connect the battery to the charger using the provided USB cable. Charging typically takes 1-2 hours. Ensure the battery is fully charged before first use. Always disconnect the battery immediately after charging to prevent overheating. Store the battery in a cool, dry place when not in use to maintain its lifespan and performance.
Safety Precautions
Always follow safety guidelines when operating your Propel drone. Avoid flying in foul weather, keep the drone away from water, and never overcharge the battery.
3.1 General Safety Guidelines
Ensure a safe environment before flight. Keep the drone away from water and flammable materials. Avoid flying near people or pets. Always disconnect the battery after charging and store it properly. Never fly in restricted zones or bad weather. Follow local regulations and manufacturer instructions to ensure safe and responsible drone operation at all times.
3.2 Weather Conditions for Flying
Avoid flying in rain, snow, or strong winds, as these conditions can damage the drone or impair control. Ideal flying conditions are calm weather with light winds. Ensure the drone is not exposed to extreme temperatures, as this may affect battery performance and overall functionality. Always check weather forecasts before flight to ensure safe and optimal operation of your Propel drone.
3.3 No-Fly Zones and Regulations
Always adhere to local aviation laws and regulations when flying your Propel drone. Avoid restricted areas such as airports, national parks, and government buildings. Use no-fly zone apps to identify prohibited regions. Ensure compliance with altitude limits and privacy laws. Familiarize yourself with drone registration requirements in your country to operate legally and responsibly. Safe flying ensures protection for both you and others. Respect all regulations to avoid penalties and ensure a safe, enjoyable experience with your drone.
Assembling the Drone
Assembling your Propel drone is straightforward. Attach propellers securely, install the camera, and mount the battery. Follow each step carefully for safe and efficient assembly.
Use the provided tools and ensure all parts are tightly fitted. Proper assembly ensures optimal performance and prevents damage during flights. Refer to the manual for detailed guidance.
4.1 Attaching Propellers
Attach propellers securely to ensure smooth flight. Align each propeller with the corresponding motor shaft, tightening firmly with the provided tool. Ensure they are properly seated and evenly balanced. Replace damaged propellers immediately to prevent vibration issues. Refer to the manual for torque specifications and safety guidelines during assembly. Always handle propellers with care to avoid injury or damage. To install the camera, remove the protective cover and align it with the mounting bracket on the drone. Secure it firmly using the provided screws, ensuring no movement. Avoid overtightening to prevent damage. Connect the camera cable to the designated port and test the connection. Ensure the camera is level and properly seated for optimal performance. Refer to the manual for specific alignment guides and streaming setup instructions. Mounting the battery correctly is crucial for safe operation. Locate the battery compartment, ensuring it’s free from debris. Align the battery with the compartment’s connectors, gently sliding it in until it clicks. Secure it with the provided latch or screw. Always disconnect the battery after charging and avoid overcharging. Refer to the manual for specific compartment locations and safety guidelines to prevent damage or malfunction. Ensure the drone is fully assembled and battery is securely mounted. Choose an open, safe area with good weather conditions. Perform pre-flight checks and calibrate the drone for optimal performance. To pair the drone with the controller, ensure both devices are powered on. Move the right control stick to the maximum position, then return it to the center. The propellers will begin spinning slowly, indicating successful pairing. Ensure the drone is on a flat, stable surface and the area is clear of obstacles for safe operation. To sync the propellers, place the drone on a flat, stable surface. Move both control sticks downward and outward, holding them in position until the propellers begin spinning slowly. This action ensures the motors are calibrated and working in unison, providing balanced flight; Once synced, the drone will be ready for a stable takeoff, ensuring optimal performance and control during operation. Calibrate the drone by moving both control sticks downward and outward, then holding them in position until the LED light flashes. This process automatically adjusts the drone’s sensors for stable flight. Ensure the drone is on a level surface during calibration. Once complete, you’ll hear a confirmation sound or see a steady light, indicating the drone is ready for precise and balanced operation. Master essential flight controls and understand various modes to enhance your flying experience. Learn emergency stop procedures for safe and controlled landings always. Mastering basic flight controls is essential for smooth drone operation. Use the left stick to control throttle and yaw, while the right stick manages pitch and roll; Start rotors by moving both sticks down and out. For emergency stops, hold sticks in the bottom corners. Practice these controls to ensure precise and stable flights every time with your Propel drone. Propel drones offer multiple flight modes to suit different skill levels and scenarios. Beginner mode restricts speed for safer learning, while sport mode unlocks full speed for experienced pilots; GPS mode enables stable positioning and altitude hold, ideal for photography. Switch modes using the controller or app. Always start with beginner mode to practice before advancing to more complex flight modes for optimal control and safety. In case of an emergency, quickly stop the drone by moving both control sticks to their lowermost positions and holding them there. This will halt the propellers immediately. Alternatively, use the emergency stop button on the controller or app to power off the motors. Always ensure a safe landing to prevent damage or injury. Follow these steps promptly to maintain control and safety during unexpected situations. Explore advanced features like HD camera functionality, customizable settings, and flight data analysis. Utilize app controls for enhanced maneuverability and personalized drone performance to capture stunning footage effortlessly. The HD camera on your Propel drone offers high-quality video and photo capture. Ensure it’s securely installed and connected. Use the app to adjust settings, start recording, or take photos. Review footage directly on your device for instant feedback. The camera’s wide-angle lens captures stunning views, while stabilization ensures smooth video. Always check storage capacity before recording and follow safety guidelines for camera operation. Accessing flight data on your Propel drone is straightforward. Connect to the app to view real-time telemetry, including altitude, speed, and battery life. Review flight logs for historical data, such as distance traveled and flight duration. Use this information to refine your flying skills and ensure optimal performance. The app also provides insights for troubleshooting and maintenance, enhancing your overall drone experience. Customizing settings on your Propel drone enhances your flying experience. Adjust sensitivity, throttle, and yaw controls via the app to suit your skill level. Enable or disable features like altitude hold and GPS tracking. Personalize the controller layout and set custom flight modes for specific scenarios. Save your preferences to optimize performance and ensure consistent operation during flights, making every session tailored to your needs and preferences. Regularly inspect propellers and motors for damage. Clean debris from the drone and camera lens. Store in a dry, cool place to preserve battery health and performance. Use a soft, dry cloth to gently wipe down the drone’s surface, removing dirt and debris. For stubborn spots, dampen the cloth slightly but avoid harsh chemicals. Clean propellers with a small brush to remove dust. Inspect and clean the camera lens regularly for clear footage. Ensure all components are dry before storing or flying again to prevent damage. Regular firmware updates enhance your drone’s performance and fix issues. Connect your drone to a computer via USB, visit the official Propel website, and download the latest firmware. Follow on-screen instructions to install updates. Ensure a stable internet connection and avoid interrupting the process. Updated firmware improves flight stability, camera functionality, and overall user experience, keeping your drone optimized for peak performance. Store your Propel drone in a cool, dry place away from direct sunlight. Disconnect the battery after each use and charge it to 50% for long-term storage. Keep propellers in a protective case to prevent damage. Use the original packaging or a hardshell case for optimal protection. Ensure the controller is stored separately to avoid scratches. Regularly check for firmware updates before extended storage to ensure readiness for your next flight. Identify common issues like connectivity problems or battery life concerns. Check connections, reset systems, and refer to the manual for solutions. Contact support if unresolved. If the controller fails to connect, reset the drone and controller by pressing and holding the power buttons. Ensure proper pairing by syncing the sticks or buttons as outlined in the manual. Check for interference from other devices and restart both units. If issues persist, refer to troubleshooting steps or contact customer support for assistance. Always follow safety guidelines during diagnostics. If experiencing reduced flight time or battery drainage issues, check for proper charging procedures and avoid overcharging. Recalibrate the battery by fully draining it, then charging to 100%. Ensure the drone is stored in a cool, dry place to prevent degradation. Refer to the manual for optimal charging guidelines and consider replacing the battery if problems persist despite these steps. If a propeller malfunctions, ensure it is free from debris and properly secured. Calibrate the drone and sync the propellers again. If issues persist, inspect for damage or wear and replace faulty propellers with spares. Refer to the manual for proper replacement procedures and ensure all parts are securely attached before flight to maintain stability and performance effectively always.4.2 Installing the Camera
4.3 Mounting the Battery
First Flight Preparation
5.1 Pairing the Drone with the Controller
5.2 Syncing the Propellers
5.3 Calibrating the Drone
Flight Operations
6.1 Basic Flight Controls
6.2 Understanding Flight Modes
6.3 Emergency Stop Procedures
Advanced Features
7.1 Using the HD Camera
7.2 Accessing Flight Data
7.3 Customizing Settings
Maintenance and Care
8.1 Cleaning the Drone
8.2 Updating Firmware
8.3 Storing the Drone
Troubleshooting Common Issues
9.1 Controller Connectivity Problems
9.2 Battery Life Concerns
9.3 Propeller Malfunction
Leave a Reply
You must be logged in to post a comment.